A MEL script that hooks your particle system up with a camera automatically, resulting in a z-depth/focus depth/height/age/etc shader, that can be used to render images meant to serve as an aid during compositing. This way you can e.g. render out hardware particles’ depth channel with motion blur.
NoteThe script was written by Björn Henriksson and myself and has been tested on Maya version 5.0 and 6.5.
Except being able to render the particles in the hardware batch renderer or hardware buffer you can also use other renderers such as Pixar Renderman. Note that if you want to render using Pixar Renderman, you will need to light your particles. One way to do this could be to just orient constrain a directional light to your camera.
For those of you who need custom tailored shading, I’ll try and explain how you can set up your own particle shading in the tutorial below. A couple of example scenes are available for download below:
- particleHWShader_1_1.mel - MEL script (also available at Creative Crash)
- example_depth.ma - Maya 5.0 ASCII
- example_depthAndHeight.ma - Maya 5.0 ASCII
Tutorial, part 1: Depth shader
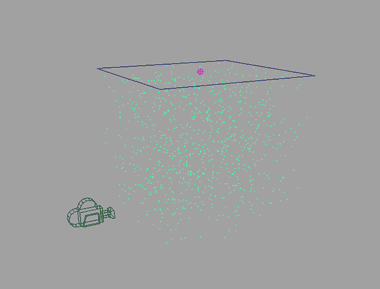
Okay, so you want to do some particle shading. First, create some particles and maybe add some fields to them to spice it up. Also create a regular camera. In my script below I assume that the name of the particles is “particle1” and the name of the camera is “camera1”.
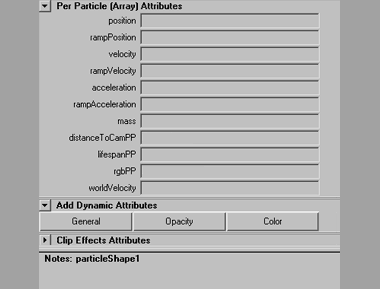
Let’s start by making our own particle depth shader.
Open up the particleShape1 in the attribute editor and scroll down to the per particle (array) attributes. Under the “add dynamic attributes” section, hit the “general” button. Here type distanceToCamPP into the attribute name field. Then tick the “per particle (array)” option under attribute type. Hit “OK”. Now, under the “add dynamic attributes” section, hit the “color” button and choose “add per particle attribute”. You should now have two new attributes under the particleShape’s per particle (array) attributes list in the attribute editor: distanceToCamPP and rgbPP.
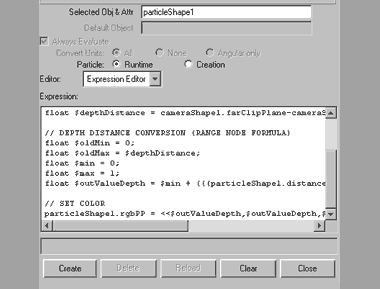
Right-click in the textfield next to rgbPP in the attribute editor and choose “runtime after dynamics expression” (or in Maya 5.0, choose “runtime expression”). Type the following into the textbox:
// DISTANCE BETWEEN PARTICLE AND CAMERA
vector $camPosition = <>;
vector $particlePosition = particleShape1.worldPosition;
particleShape1.distanceToCamPP = mag($particlePosition-$camPosition);

// DEPTH DISTANCE
float $depthDistance = cameraShape1.farClipPlane-cameraShape1.nearClipPlane;


// DEPTH DISTANCE CONVERSION (RANGE NODE FORMULA)
float $oldMin = 0;
float $oldMax = $depthDistance;
float $min = 0;
float $max = 1;
float $outValueDepth = $min + (((particleShape1.distanceToCamPP-$oldMin)/($oldMax-$oldMin)) * ($max-$min));

// SET COLOR
particleShape1.rgbPP = <>;
…and hit the “create” button!
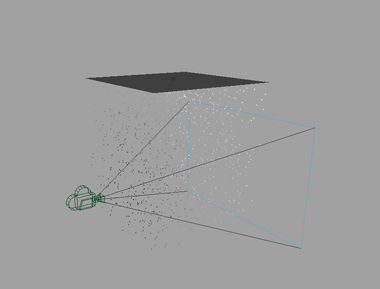
Now let’s make the camera’s clipping plane visible. Select camera1 and enable clipping planes (found in the “camera/ligth manipulator” menu under the “display” dropdown). Still having the camera1 selected, fire up the attribute editor and set the far clipping plane to a fairly low value, so that it ends just beyond the furthest particle (depth-wise). If you hit play and let your particles emit, you should be able to see their color ranging from black to white. It is completely black at the camera’s near clipping plane and completely white at the camera’s far clipping plane.
Cool, you just made your own particle depth shader!
Tutorial, part 2: Combined particle depth and height shader
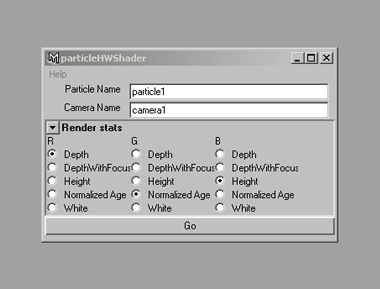
The script that Björn and I have written asks you about what you want rendered in each of the RGB channels and then hooks your particle system up accordingly with a camera of choice. This is what we are going to take a look at next!
Oh and by the way, if you were wondering, the expressions in our MEL script is much more optimized for performance and could be harder to grasp if you are learning to write your own expressions.
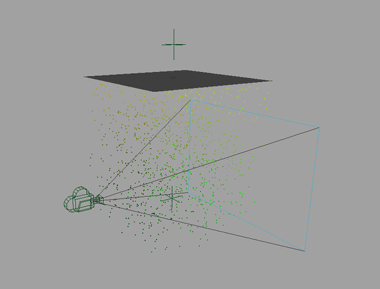
Let’s put the depth information and height information into the rg channels (we’ll leave the b channel empty). This way we can access both the depth image and the height image from within the same file in our favourite compositing application.
First, create two locators and name them roofLoc1 and floorLoc1. Place roofLoc1 below floorLoc1 and replace the old expression with this:
// DISTANCE BETWEEN PARTICLE AND CAMERA
vector $camPosition = <>;
vector $particlePosition = particleShape1.worldPosition;
particleShape1.distanceToCamPP = mag($particlePosition-$camPosition);

// DEPTH DISTANCE (GREEN)
float $depthDistance = cameraShape1.farClipPlane-cameraShape1.nearClipPlane;

// DEPTH DISTANCE CONVERSION (RANGE NODE FORMULA)
float $oldMin = 0;
float $oldMax = $depthDistance;
float $min = 0;
float $max = 1;
float $outValueDepth = $min + (((particleShape1.distanceToCamPP-$oldMin)/($oldMax-$oldMin)) * ($max-$min));

// HEIGHT DISTANCE (RED)
vector $floorLocation = <>;
vector $heightColor = (particleShape1.worldPosition - $floorLocation) / (roofLoc1.translateY-$floorLocation);
$outValueHeight = $heightColor.y;

// SET COLOR
particleShape1.rgbPP = <>;
Don’t forget to hit the “edit” button to actually make the changes to the expression go through!
You can now adjust the height range using the two locators …and voila, you’ve got your own combined particle depth & height shader!