Installing Maya 2016 on Ubuntu 14.04 (trusty)
It took some trial and error to successfully install and license Maya 2016 in Ubuntu 14.04, and here’s how I did it.
First off, let’s install some libraries. It’s possible that not all these libraries are needed as the list of libraries stem from installation instructions from an earlier version of Maya.
sudo apt-get install csh tcsh libaudiofile-dev libglw1-mesa elfutils gamin libglw1-mesa-dev mesa-utils xfstt ttf-liberation ttf-mscorefonts-installer xfonts-100dpi xfonts-75dpi alien
Maya needs write access to a temp folder, which does not exist by default in Ubuntu 14.04. Let’s create it and make it writeable.
sudo mkdir /usr/tmp
sudo chmod 777 /usr/tmp
Since Ubuntu cannot deal with RPM packages, we need to convert these to .deb packages using alien. This is a fairly simple process.
sudo alien -cv *.rpm
Then we need to install the .deb packages.
sudo dpkg -i *.deb
Now you will have both Maya installed and its Adlm (licensing) software installed. In order to proceed from here we need to make sure Maya is going to find some libraries which it will be needing. This entails creating symlinks to existing files in Ubuntu and have them placed where Maya is looking for them. We might also have to install libssl, as shown below.
sudo ln -s /usr/lib/x86_64-linux-gnu/libtiff.so.5.2.0 /usr/autodesk/maya2016/lib/libtiff.so.3

sudo apt-get install libssl1.0.0 libssl-dev

sudo ln -s /lib/x86_64-linux-gnu/libcrypto.so.1.0.0 /usr/autodesk/maya2016/lib/libcrypto.so.10

sudo ln -s /lib/x86_64-linux-gnu/libssl.so.1.0.0 /usr/autodesk/maya2016/lib/libssl.so.10
Setting up the licensing
Now it’s time to make sure the licensing works. This one took a while to figure out, and it turns out the easiest route is to use the bundled setup script which comes with the installation files.
But first, set an environment variable, which will make and Adlm library available temporarily:
export LD_LIBRARY_PATH=/opt/Autodesk/Adlm/R11/lib64/
Go into the unpacked installation folder which contained the RPM files and look for a file called “setup”. Now it’s important that you stand inside this folder when executing the following (some libraries required might not be found if you don’t):
chmod +x setup
sudo ./setup
Now enter your licensing information. When you proceed in the setup wizard, you’ll notice that the installation will fail. This just means it is unable to install the RPMs (which we already converted to deb packages and installed previously). However, it should have been successful with setting up the licensing for you:
# /var/opt/Autodesk/Adlm/Maya2016/MayaConfig.pit
(binary file)

# cat /var/opt/Autodesk/Adlm/Maya2016/install.env
ADLMLICENSETYPE=<network|standalone>
ADLMPRODUCTKEY=<PRODUCT_NUMBER>
ADLMPRODUCTVERSION=2016.0.0.F
ADLMSERIALNUMBER=<SERIAL_NUMBER>

# cat /usr/autodesk/maya2016/bin/License.env
MAYA_LICENSE=<PRODUCT_NUMBER>
MAYA_LICENSE_METHOD=<network|standalone>

# cat /var/flexlm/maya.lic
SERVER <SERVER_NAME_OR_IP> 0
USE_SERVER
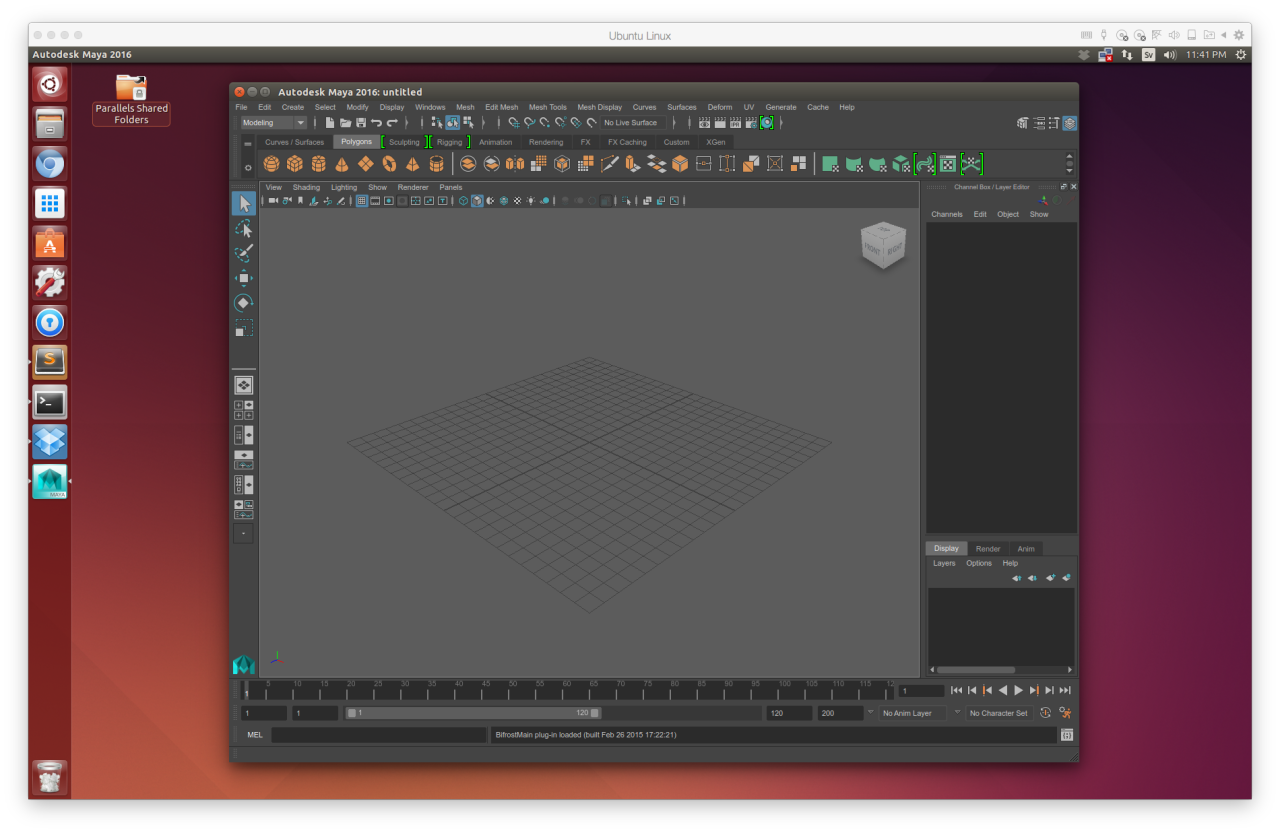
We’re all done. Start Maya:
sudo /usr/autodesk/maya2016/bin/maya
For some reason, not sure why, I can’t start Maya without root privileges. Let me know if you know why – or any other way I can improve this guide by commenting below!
Happy rendering!